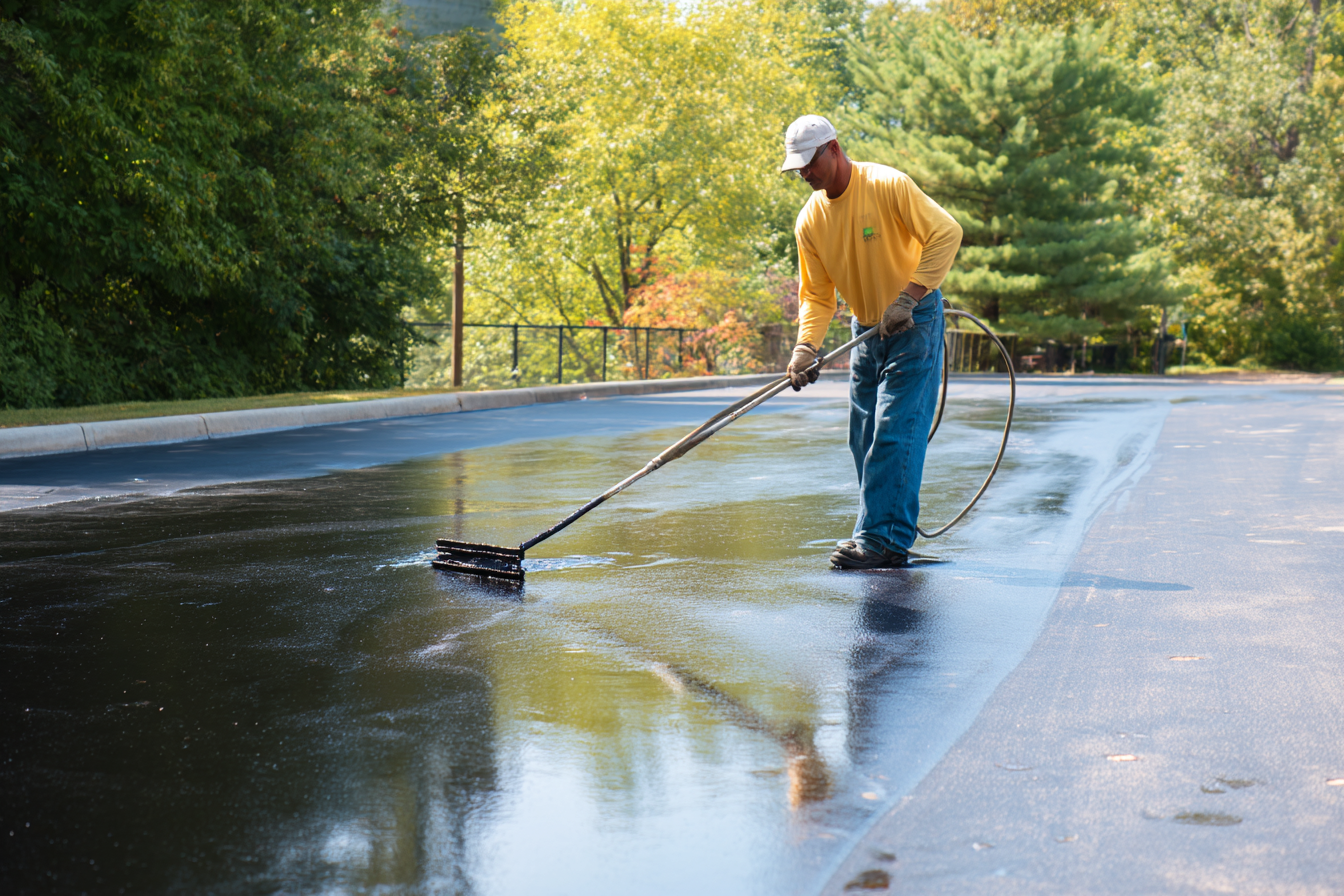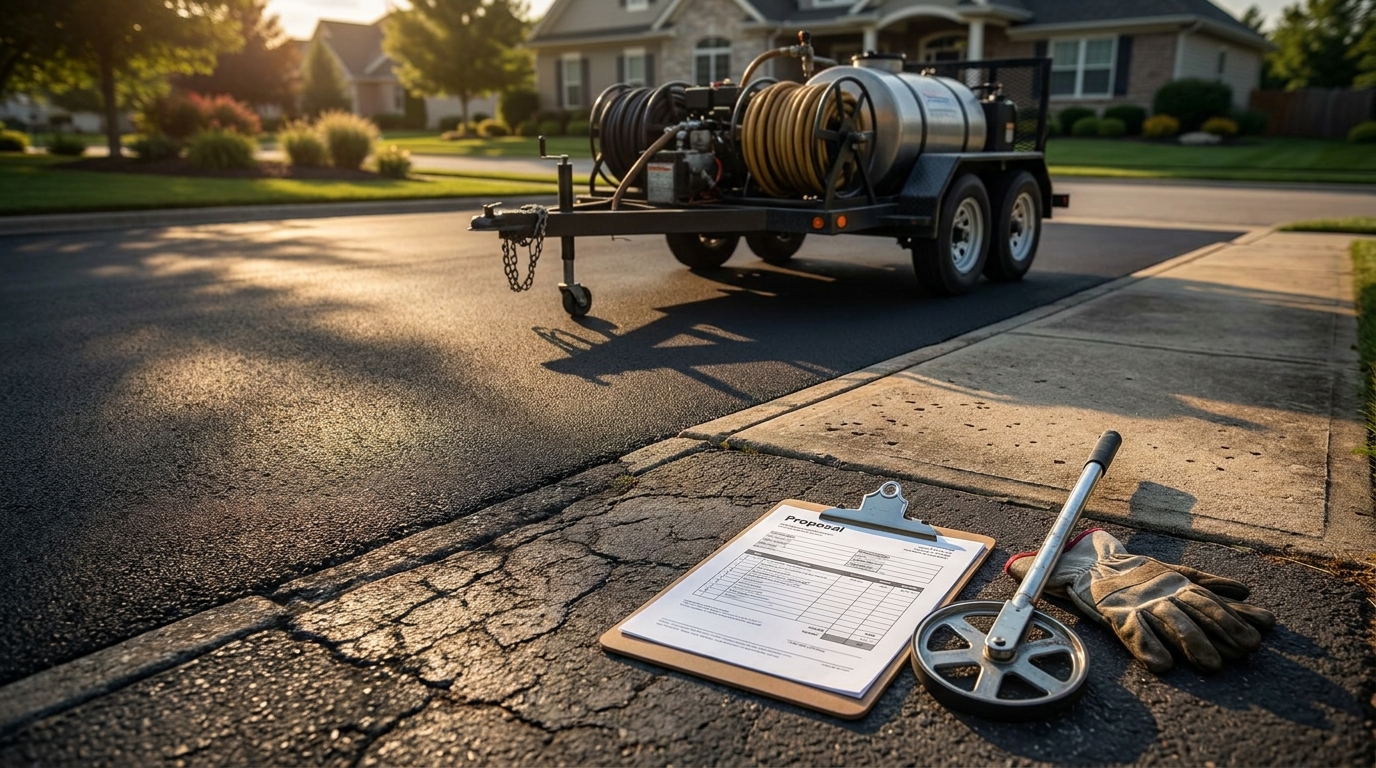
Most residential sealcoating jobs are won or lost before you ever pick up a phone. The homeowner gets two or three quotes, glances at each one for about 90 seconds, and signs with whoever looks most professional and trustworthy. If your proposal is a hand-scrawled number on a sticky note or a generic PDF with no photos, you are losing jobs to competitors who charge the same price and simply present better.
A sealcoating proposal is not the same as an estimate. An estimate is a number. A proposal is a sales document. It explains what you will do, why it matters, and why you are the right crew for the job. Done right, it removes the friction that stops homeowners from saying yes.
Here is how to put together a proposal that closes residential sealcoating work, starting from the header and ending at the signature line.
Start With the Client's Name and Property, Not Your Company
The first thing a homeowner sees when they open your proposal should be their own name and address, not your logo. Open with a line like "Proposal for [Client Name], [Property Address]" and include the date. This signals that you took the job seriously enough to create something specific to them, not a template you blasted to 50 people.
Below that, add a short one-paragraph summary of what you observed during your site visit. Note the driveway size in square feet, the current condition of the pavement, and any prep work the job requires, such as crack filling, edge repair, or oil spot treatment. This shows you actually looked at their driveway. It also sets up the scope of work so the price does not feel like it came from thin air.
Lay Out the Scope of Work in Plain Language
After the summary, list exactly what the job includes. Use short, clear line items. Avoid technical jargon that means nothing to a homeowner. Instead of "two-coat application of coal-tar emulsion sealer with silica sand additive," write "two coats of professional-grade sealer with sand for traction." Same information, easier to trust.
Cover these items in your scope section:
- Surface preparation (cleaning, blowing, edging)
- Crack filling or patching, if included
- Oil spot primer treatment, if needed
- Number of sealer coats and type of sealer
- Drying time and when the driveway can be used again
- Any items explicitly not included (so there are no disputes later)
That last point matters. If you are not doing crack repair on this job, say so. Homeowners sometimes assume prep work is bundled in. A clear scope prevents the call two weeks later where they say the cracks you "missed" are already showing through the sealer.
Present Your Pricing So It Feels Fair, Not Mysterious
Price is where most residential proposals fall apart. Contractors either list one lump sum with no context, or they itemize so heavily that the homeowner starts questioning every line. Neither extreme closes jobs.
The right approach is a clear breakdown that shows what you are charging and roughly why, without turning the proposal into an invoice. A simple format works well:
- Surface area: 1,800 sq ft
- Prep and cleaning: included
- Two-coat sealer application: $X
- Crack filling (4 linear feet): $X
- Total: $X
When a homeowner can see that you measured their driveway and priced accordingly, the number feels earned. For a guide on how to set your per-square-foot rate competitively, the 2025 paving contractor pricing guide covers current market rates by region and job type.
If you offer optional add-ons, such as a third coat or decorative edging, put them in a separate section below the base price. This keeps the primary number clean and gives the homeowner a reason to upgrade without feeling pressured.
Add Photos and a Short Crew Credential Block
Residential clients are not buying a commodity. They are hiring someone they trust to work on their property. Two additions to your proposal build that trust faster than any sales pitch: a before photo of their specific driveway, and a short block about your crew.
The before photo confirms you visited the property. It also anchors the homeowner's expectations. They can see the cracks and fading you are about to fix, which makes the price feel more justified. If you have an after photo of a comparable past job, include it directly below. Two photos, total. Do not turn the proposal into a portfolio deck.
The credential block should be three to five lines. How long you have been operating, how many residential driveways you have sealed, and any relevant licensing or insurance details. If you carry liability insurance, say so. Many homeowners do not think to ask, but seeing it written down removes a nagging concern about property damage.
A proposal that shows a photo of the client's actual driveway converts better than one that shows ten photos of other jobs.
Make the Signature Step Obvious and Frictionless
The final section of your proposal should be a clear acceptance block. State the price again in one line. Add an expiration date, typically 14 to 30 days out, which creates a soft deadline without feeling pushy. Then give the homeowner one easy way to sign.
If you are still sending proposals as printed PDFs or paper copies, you are adding unnecessary friction. Every extra step between "I want to hire them" and "I signed" gives the homeowner a chance to get distracted, compare another quote, or simply forget. Digital signatures cut that gap. When a homeowner can tap a link on their phone and sign in 30 seconds, close rates go up.
For a closer look at proposal software that handles digital signatures alongside sealcoating estimates, the best contractor proposal software roundup for 2025 covers the top options built specifically for paving contractors.
Follow Up Once, and Do It the Right Way
Sending the proposal is not the end of your sales process. A single follow-up, sent three to five days after the proposal, closes a meaningful number of jobs that would otherwise go cold. Keep it short: reference the proposal by address, ask if they have any questions, and remind them of the expiration date.
Do not call daily or send generic "just checking in" messages. That feels like pressure, and residential homeowners respond by avoiding you. One follow-up, personalized to their job, is enough. If they do not respond after that, send a final note one or two days before the proposal expires. Something like: "Your proposal for [Address] expires Friday. Happy to answer any questions before then." That is it.
The contractors who lose residential sealcoating jobs are rarely losing on price. They are losing because a competitor sent a better-looking proposal faster and made it easier to say yes. Fix the proposal first, and the close rate follows.
If you want to make sure your pricing holds up before you send anything, review how your sealcoating estimate is structured. The sealcoating estimate template guide covers exactly what line items to include and how to price jobs accurately before they reach proposal stage. Once a client signs, a solid contract behind that proposal protects you. The sealcoating contract guide covers what terms to add so the job is protected from first pour to final payment.